


Intro to testing
This week at bootcamp we learned about testing. Testing is, well, testing your code to check that it works as it is supposed to. Testing can be manual or automated. Manual testing means a person sits at a computer and physically clicks on parts of a website, for example, to check the buttons do what they're supposed to do. We were concerned with automated testing, however. At a very basic level, automated testing means writing test code alongside your code, which, when executed, will automatically check whether your code does what it is supposed to do. You typically use a testing framework such as Jest or Mocha to write and run those tests.
We learned that you should write a test for each function or procedure - known as a 'unit' test.
There are obvious benefits to testing - you know your code is free of bugs and works as expected. The assumption is that this will outweigh the time and expense of testing in the first place.
Test Driven Development (TDD)
So what is Test Driven Development? In a nutshell, TDD asserts that you should write a test before you write some code for a new feature. That way, you've thought carefully about exactly what your code needs to do before you've even written a line. Once you've written the test, then written the code that makes the test pass, you move on to the next bit of code for that feature - so once again, you write a test, then write the code and so on and so on. The TDD cycle looks something like this:
- Write a test
- Run the test, expecting it to fail, because you haven't written any code yet (this checks that the test won't give a false pass later)
- Write the code
- Run the test
- Refactor the code
- Repeat...
This is often expressed visually as the 'red, green, refactor loop':
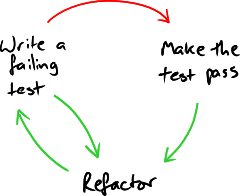
Image credit: Nat Pryce
Testing our code for the first time
We've spent the last couple of weeks firming up our basic JavaScript knowledge. This culminated in a series of 'katas' - small challenges that allowed us to practise our knowledge of working with basic data types and arrays and objects. Each challenge asked us to write some JavaScript to solve a problem - here's an example from the arrays challenges:
const uppercaseWordsInArray = strings => {
  // your code here
};
To solve this challenge, we needed to write some code that would take an array of strings and make each of those strings UPPERCASE. What's more, tests had been written for us for each challenge, which we would run to check our solutions. This was the first time I had seen a test, and I was pleasantly surprised! Here is the pre-written test we were given for the challenge above:
describe("uppercaseWordsInArray", () => {
  it("makes every string in the array uppercase", () => {
    expect(uppercaseWordsInArray(["cat", "mouse", "banana"])).toEqual([
      "CAT",
      "MOUSE",
      "BANANA"
    ]);
  });
});
This is a test written using the Jest testing framework. Even without seeing a test before, I found I could (sort of) figure out what our code was expected to do to pass this test because it's written in something approximating plain English (if you ignore the punctuation and squint a bit...).
Taking a step back for a moment, I was interested to find out how testing would actually work in practice. Before we started these challenges, we forked an existing repo from our bootcamp's github. It contained a file with the blank challenges for us to complete (called arrays.js in our case) and a corresponding separate test file (called arrays.test.js) where tests like the one above had been pre-written for us. The repo also contained a file called package.json - this file holds all the information about a particular project and tells Node Package Manager what to install (these are known as 'dependencies and dev dependencies') to allow us to run the tests. We installed those by running the npm install command in terminal, which installed the Jest testing software using Node Package Manager (npm). After we had done that, we could then run the tests themselves by running the npm test command (which had also been set up for us in the scripts section of the package.json file).
Before we even started writing any code, we ran the test to see what would happen. We got these scary-looking error messages:
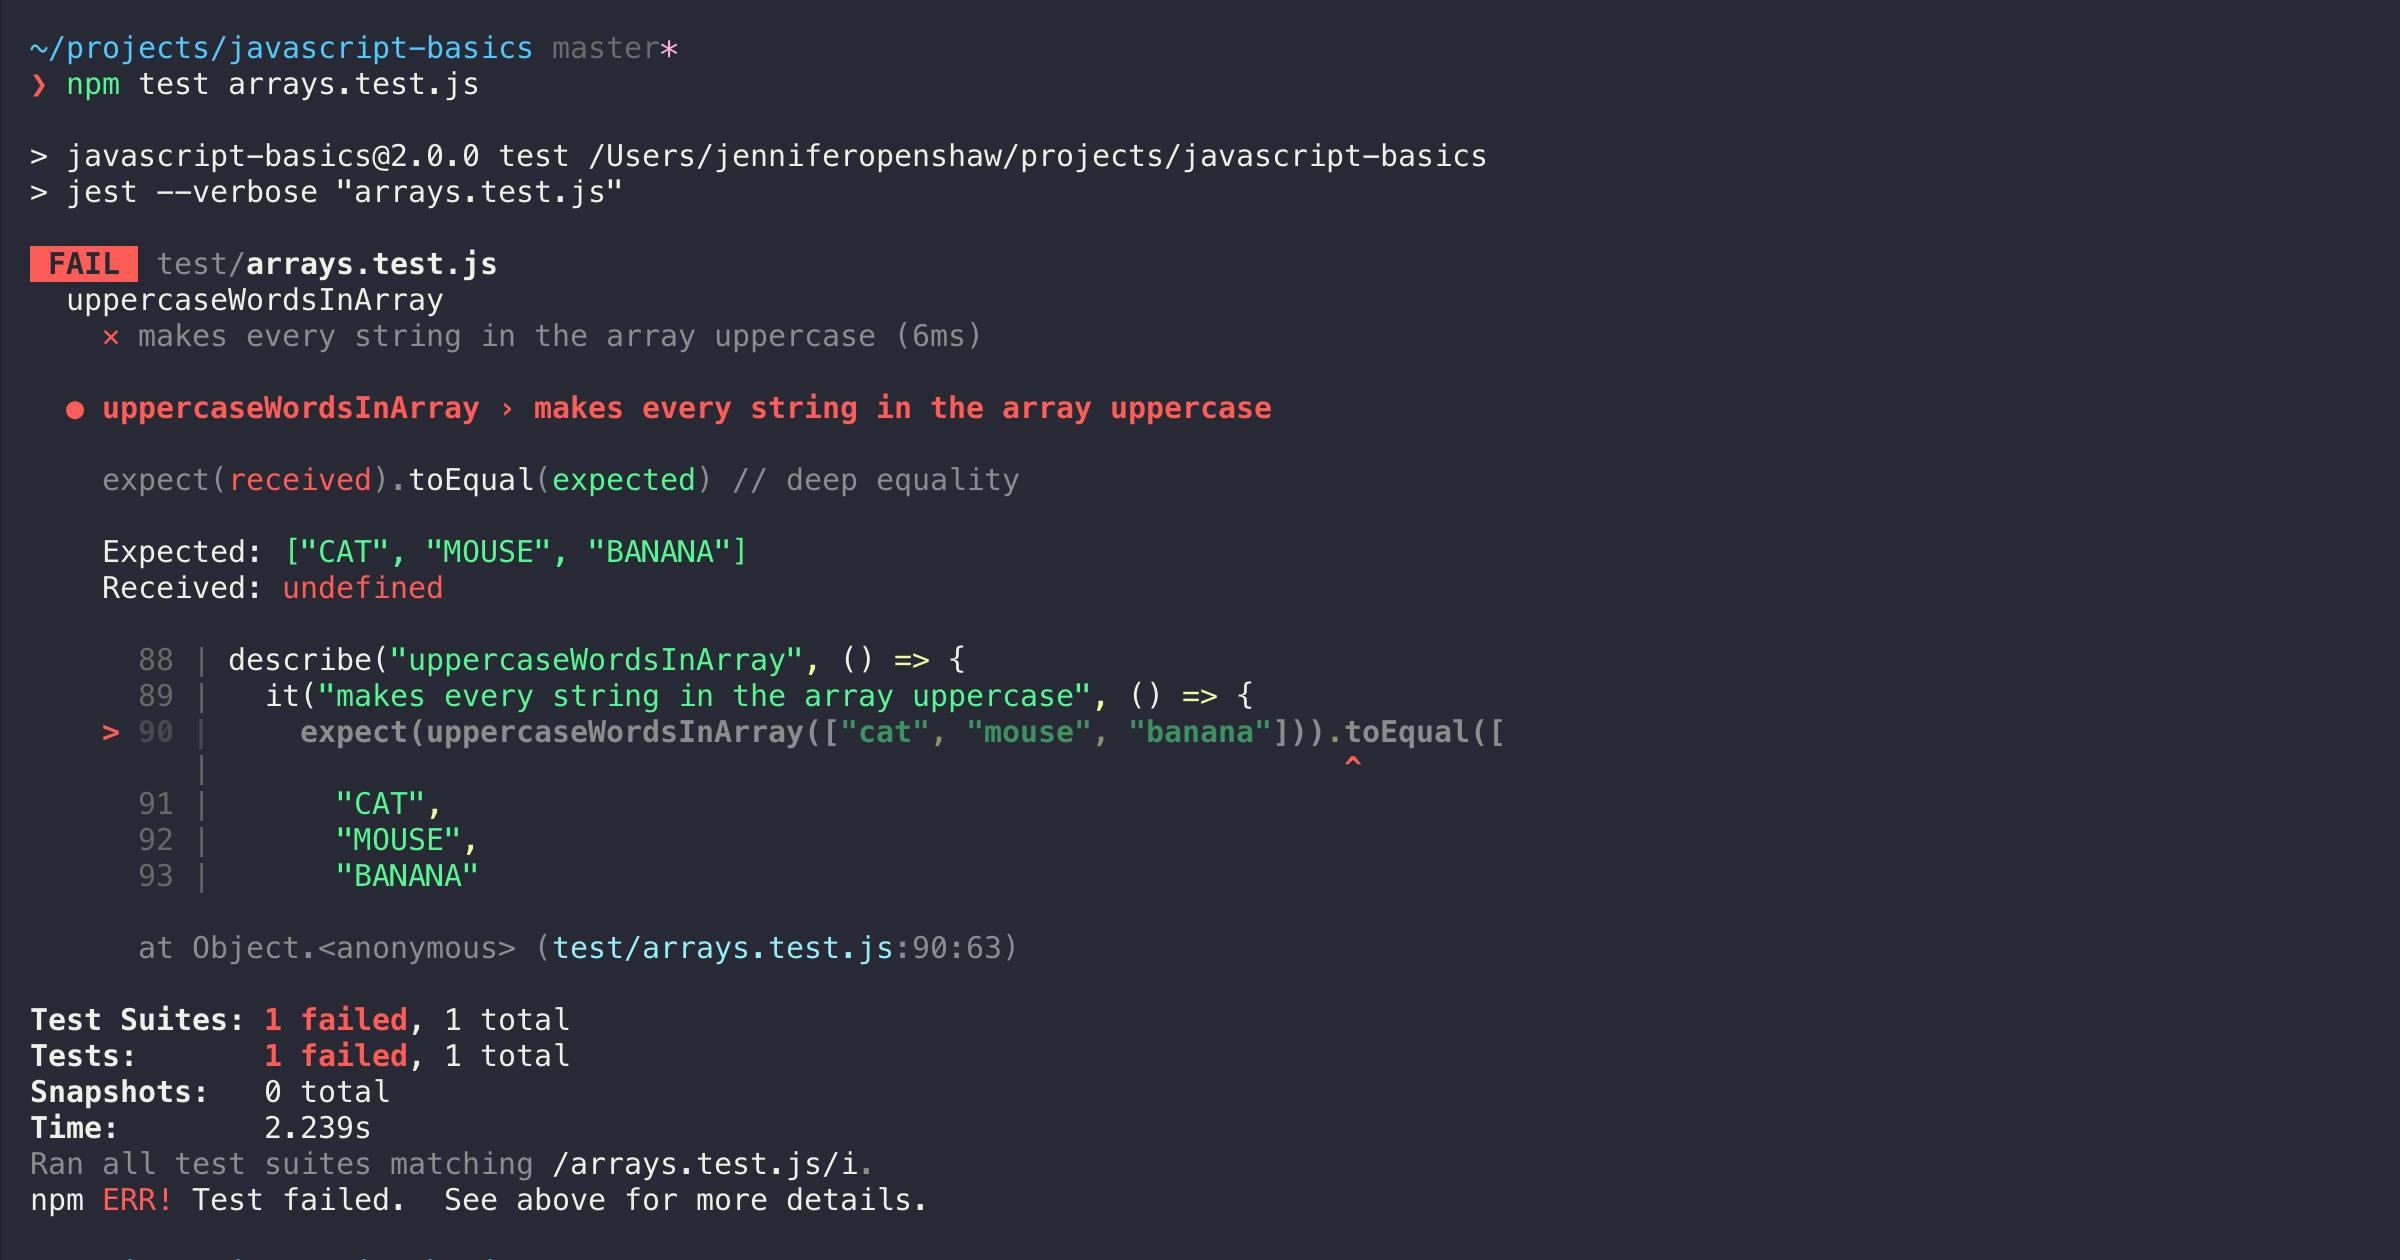
As we worked our way through the 50-or-so exercises (I paired with my friend Jenny - remotely using zoom and VS code live share - give it a try, I can't recommend pair-programming highly enough) we got the hang of stopping to read the error messages carefully. Often they held the solution to what was wrong with our code - a useful lesson to learn. Turns out it is also incredibly satisfying to get a green 'pass' message like this one below:
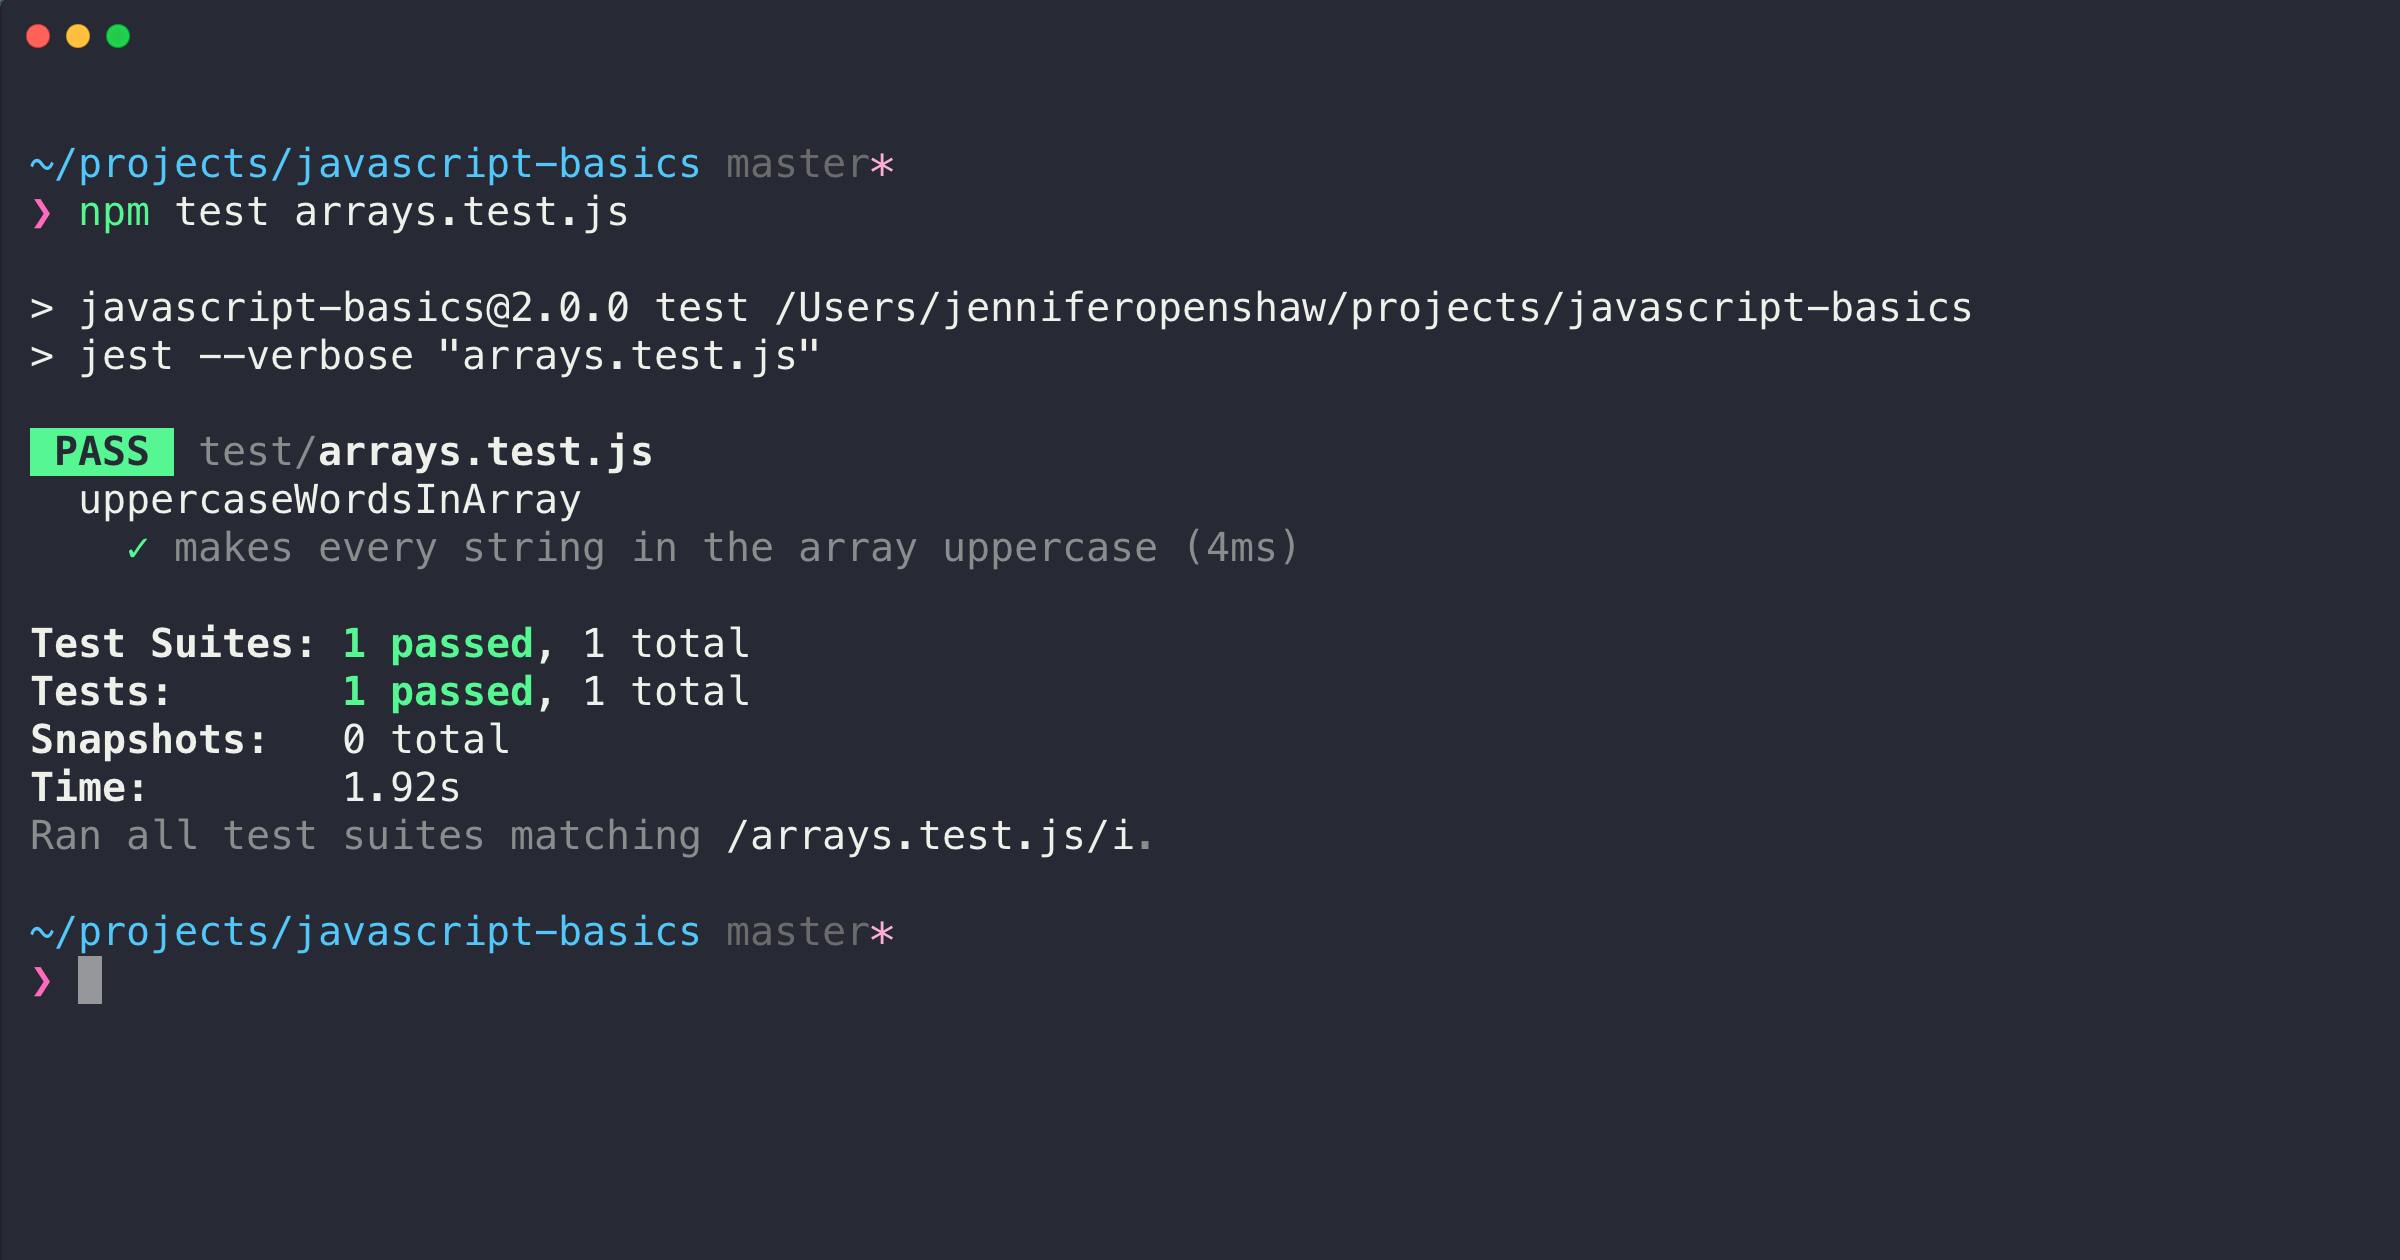
(And here's the code solution that passed, in case you are interested...)
const uppercaseWordsInArray = strings => {
  return strings.map(element => {
    return element.toUpperCase();
  });
};
Writing our own tests
After completing the katas with the pre-written tests, it was our turn to write our own tests for some similar exercises. Here are the tests we wrote for a challenge called FizzBuzz:
describe("fizzBuzz", () => {
  test("returns Fizz when passed a multiple of 3", () => {
    expect(fizzBuzz(3)).toBe('Fizz');
  });

  test("returns Buzz when passed a multiple of 5", () => {
    expect(fizzBuzz(5)).toBe('Buzz');
  });

  test("returns FizzBuzz when passed a multiple 3 and 5", () => {
    expect(fizzBuzz(15)).toBe('FizzBuzz');
    expect(fizzBuzz(30)).toBe('FizzBuzz');
    expect(fizzBuzz(90)).toBe('FizzBuzz');
  });

  test("returns the number when it isn't a multiple of 3 or 5", () => {
    expect(fizzBuzz(4)).toBe(4);
    expect(fizzBuzz(11)).toBe(11);
  });
});
Could you complete the code below to make these tests pass?
const fizzBuzz = number => {
  // your code here
};
What next?
Next week, we're moving on to Object Oriented Programming and will be starting a project to create a virtual pet, including writing our own tests.
Cover image by Emma Matthews on Unsplash